


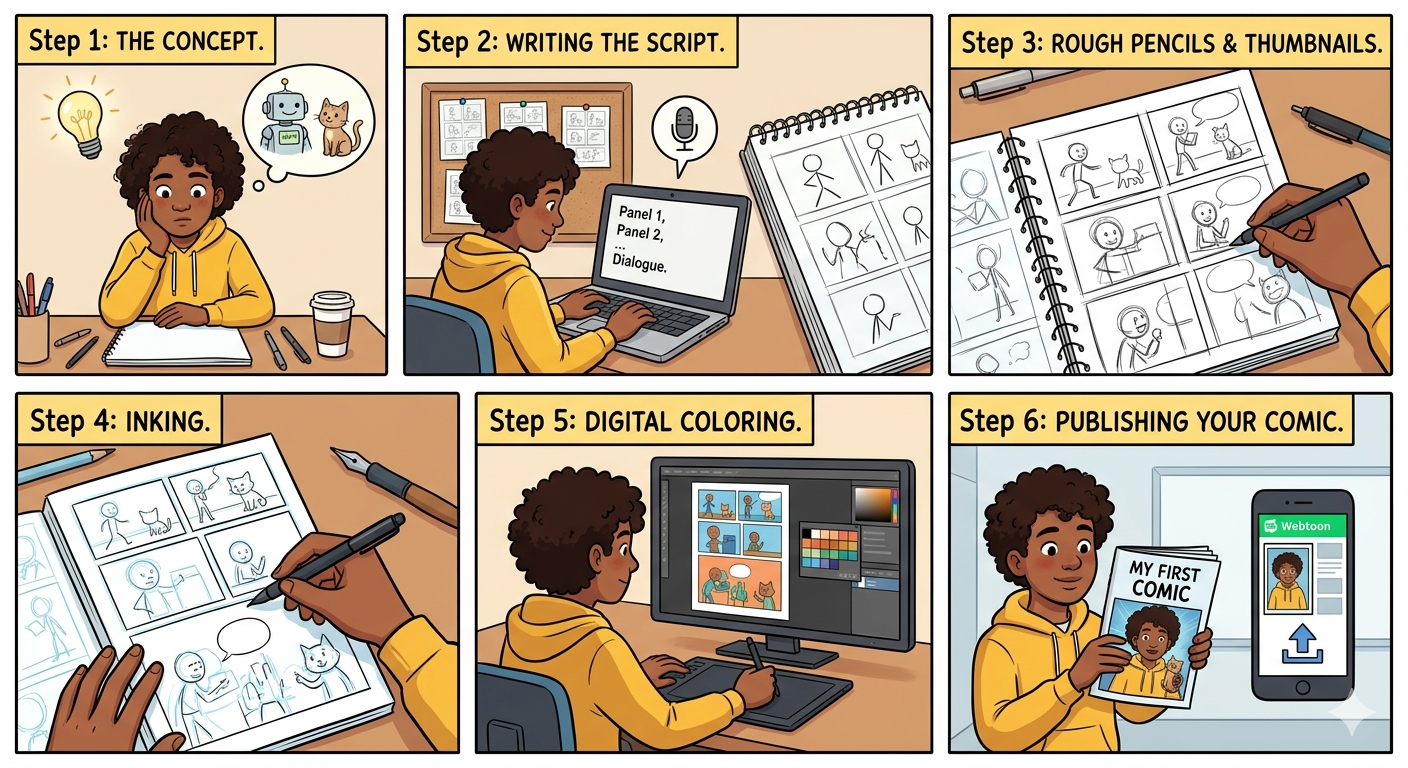
Are you searching for “teach me first comic” tips? Comics are one of the most exciting and creative storytelling mediums — combining art and narrative in a unique way. This guide will show you how to create your first comic, step by step, even if you have no prior drawing experience. By the end, you’ll know how to write, draw, and publish a comic for beginners.
What Is a Comic?
A comic is a visual story told through sequential panels that include images, dialogue, and sometimes sound effects. Unlike traditional books, comics rely on visual storytelling to convey emotions, actions, and ideas.
There are many types of comics to explore when learning how to make your first comic:
- Comic Strips: Short, humorous stories, usually 1–4 panels.
- Comic Books: Longer serialized stories with multiple pages.
- Webcomics: Comics published online, suitable for beginners.
- Graphic Novels: Book-length comics with full narratives.
- Manga: Japanese comics with distinctive visual styles.
Creating your first comic helps you learn how to combine images and words to tell a story effectively.
Why Make Your First Comic?
Learning how to create a comic offers many benefits:
- Boosts Storytelling Skills: You learn how to tell a story visually and narratively.
- Enhances Creativity: Combining art and narrative encourages imagination.
- Builds Confidence: Completing a comic gives a sense of accomplishment.
- Hobby or Career: Your first comic can be a starting point for webcomics, publishing, or comic art careers.
- Fun Learning: Drawing, writing, and visual storytelling come together in one engaging project.
Remember, the goal of a comic for beginners is not perfection — it’s to finish your first project and learn from it.
Step 1: Start With a Simple Idea
Before drawing, decide on your story. A simple concept works best for your first comic. Ask yourself:
- Who is the main character?
- What is their goal?
- What obstacles do they face?
- How does the story end?
Example idea for your first comic:
“A kid wants to bake a cake for their friend but keeps getting distracted by pets.”
Keeping the story short and clear is key for beginner comic creators.
Step 2: Create Your Characters
Characters are essential in every comic for beginners. They make your story engaging and memorable.
Tips for character creation:
- Start with basic shapes like circles and rectangles.
- Add unique features like hair styles, glasses, or hats.
- Decide on their personality traits (funny, shy, bold).
- Write a short bio for each character.
Your characters don’t need perfect art — they just need to be recognizable and expressive.
Step 3: Write a Short Script
A script helps plan your first comic before drawing. Include dialogue, actions, and panel notes.
Example 4-panel comic script:
- Panel 1: Character at a table. Text: “Time to bake my first cake!”
- Panel 2: Pet jumps on the table. Text: “Hey, stop that!”
- Panel 3: Flour spills everywhere. Text: “Oh no!”
- Panel 4: Cake is ruined, but character laughs. Text: “Well, at least I tried.”
A script ensures your comic story is clear and easy to follow.
Step 4: Storyboard Your Comic
Storyboarding is the rough layout for your comic for beginners.
- Draw simple boxes for each panel.
- Sketch characters and actions roughly.
- Arrange panels to guide the reader naturally from one panel to the next.
Storyboarding helps with pacing and visual flow before detailed drawing.
Step 5: Draw Your Comic
Now it’s time to create your first comic visually.
Drawing tips:
- Use a pencil for light sketches.
- Keep characters simple and consistent.
- Focus on expressive faces and gestures.
- Start with minimal backgrounds.
You don’t need perfect art — clarity matters more than details in your first comic.
Step 6: Add Text and Speech Bubbles
Text gives your characters a voice:
- Speech Bubbles for dialogue
- Thought Bubbles for inner thoughts
- Sound Effects like BAM or WHOOSH
Keep the text short so it doesn’t crowd the panel. Remember, images tell most of the story.
Step 7: Ink and Finalize
Trace over your sketches with ink or a digital pen. Erase pencil lines and clean up messy areas. This gives your first comic a professional and polished look.
Step 8: Add Color (Optional)
Adding color is optional but can make your comic more vibrant:
- Use consistent colors for characters and objects.
- Keep backgrounds simple.
- Avoid complicated shading at first.
Even simple coloring makes your first comic stand out.
Step 9: Review Your Comic
Check your comic for clarity:
- Is the story easy to understand?
- Are panels in order?
- Is the text readable?
- Are there spelling errors?
Small edits make your comic more polished.
Step 10: Publish and Share
Once complete, share your first comic:
- Online: Social media, blogs, or webcomic platforms
- Print: Zines or gifts for friends
- Feedback: Show friends or communities for constructive critique
Sharing motivates you to create more comics and helps you grow as an artist.
Tips for Comic Beginners
- Practice regularly, even 10 minutes a day.
- Study other comics for ideas and techniques.
- Don’t fear mistakes — each comic teaches you something new.
- Start with short stories, gradually expand.
Consistency is key to improving your comic-making skills.
Common Mistakes to Avoid
- Trying to draw perfectly right away
- Writing overly complicated stories
- Skipping planning or storyboarding
- Adding too much text
- Quitting before finishing
Your first comic doesn’t have to be perfect — it just needs to exist.
Recommended Tools for Beginners
Traditional: Paper, pencil, eraser, fine-liner pens, rulers
Digital: Tablets, drawing apps like Clip Studio Paint, Procreate, or Photoshop
Choose the tools that suit you. Digital tools can simplify editing and coloring.
Conclusion
If you’re searching for “teach me first comic” tips, this guide gives you everything to create your first comic. By following steps like idea creation, character design, scripting, storyboarding, drawing, inking, coloring, and sharing, even beginners can complete their first project successfully.
Remember, every comic creator started with a simple comic. Your first comic doesn’t need to be perfect — it just needs to be made. Start small, keep practicing, and enjoy your creative journey!
